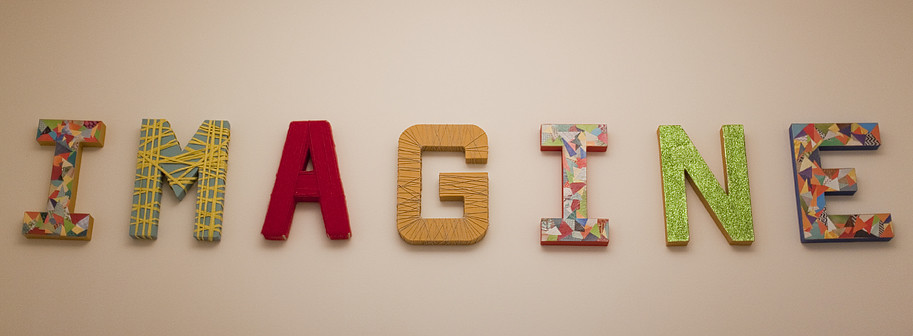
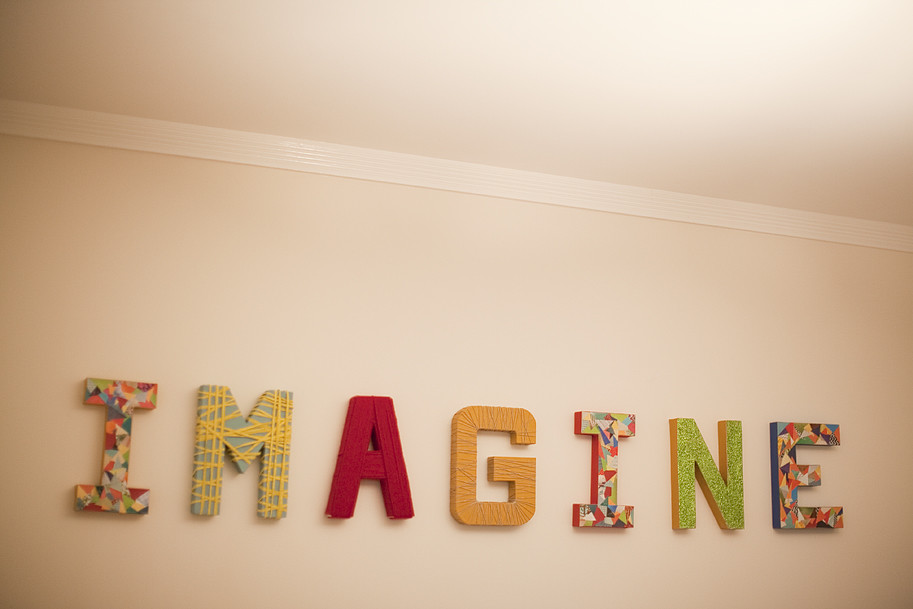
 i have been envisioning this project in my mind for awhile. i wanted to make the word IMAGINE across the big wall in the playroom. originally, i was going to decoupage all of the letters but when they arrived that looked like way too much work and i decided i wanted some variety in the style of the letters. i ended up loving how it turned out and the sweet little affirmation that pulls your attention when you walk in the room.
 i don't know if anyone cares but when i was looking for tutorials, i found it hard to find any with the styles i was looking to create. so, i'm gonna go through the letters and let you know how i did it. and let me be the first to tell you, it may not be the "right" way -- but it worked for me.
 beginning with the cardboard letters -- i got them online at joann's. they are $4.99 each so with a coupon i found online and shipping for the whole thing it was under $35. i thought that was pretty good for how big the piece of art in its entirety is.
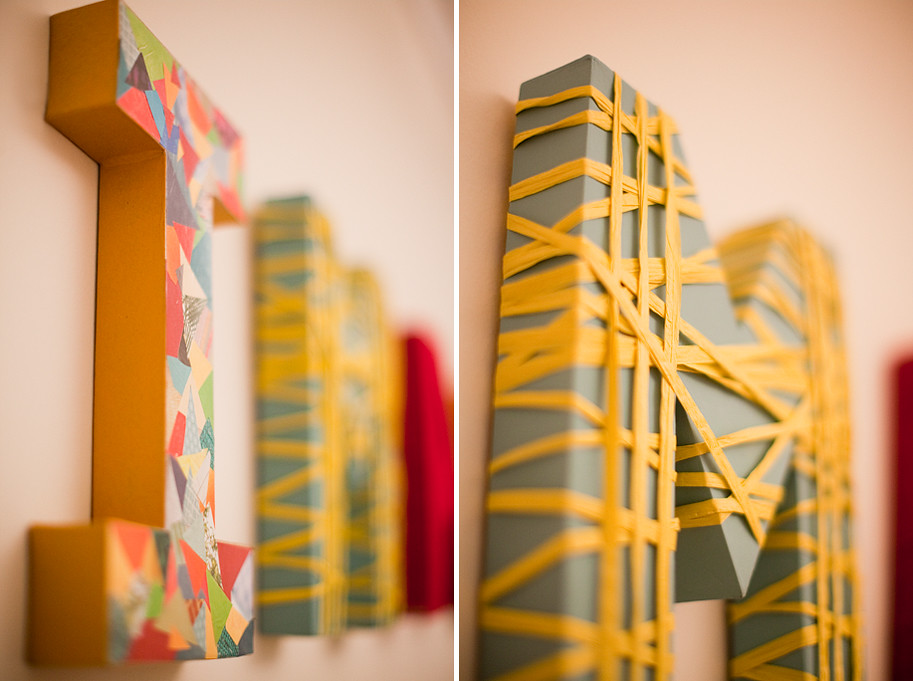
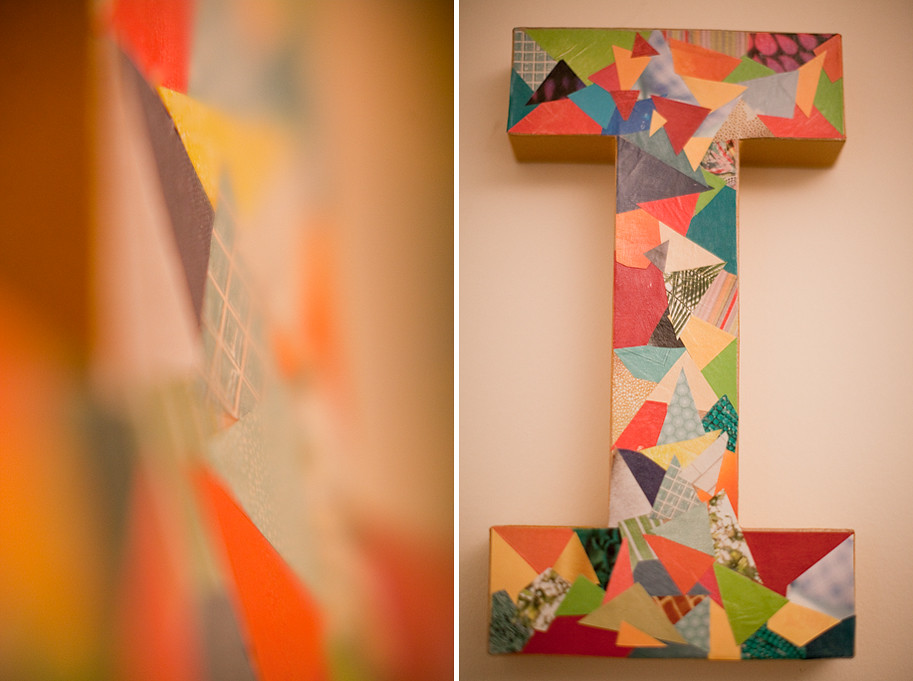
for the I's and the E, i decoupaged them. i looked through my favorite magazines (better homes and gardens and southern living, mostly) and cut out colors and prints and textures that appealed to me and that matched the color scheme in the playroom. i tried, for the most part, to cut them into triangle shapes. then, just took some mod podge and started piecing it together until all of the cardboard was covered. this probably took 30 minutes-ish a letter (not including the cutting) and after i let it dry for a few minutes i did one more coat of mod podge (glossy finish) over the entire thing and painted the sides with the color i felt was most dominant. i ended up using yellow, red, and blue on the mod podged letters.
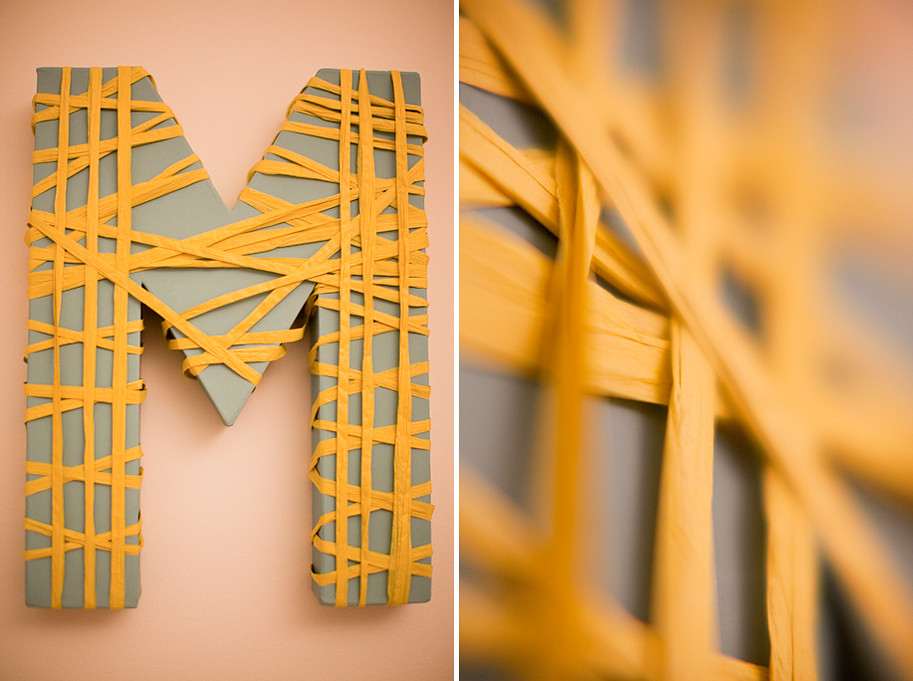 for the M -- i painted it first with chalk paint that i had left over (color was provence) and then wrapped some twine around it. tried to be a little bit random and imperfect with this one.
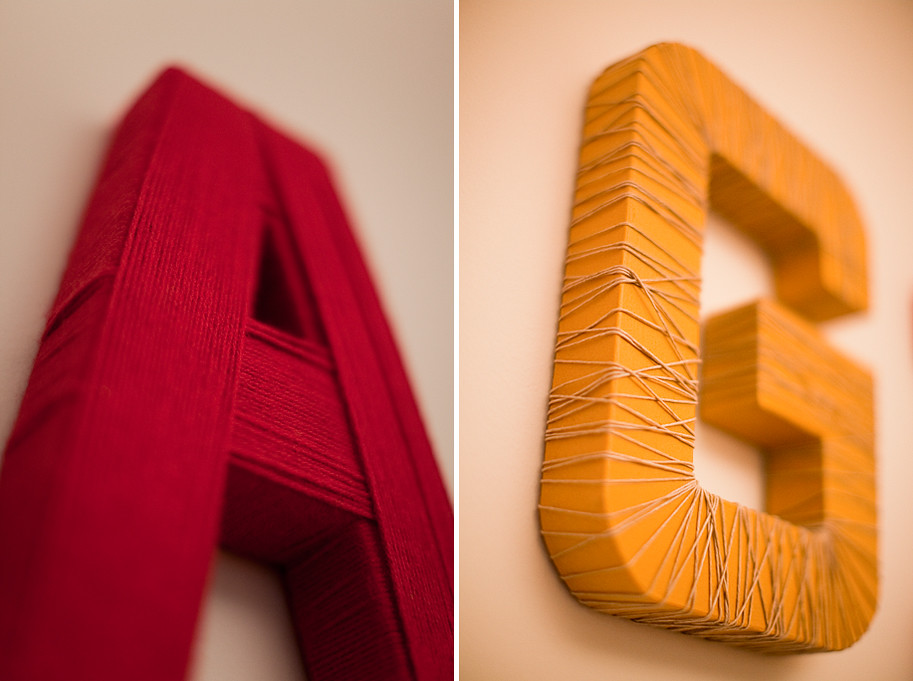
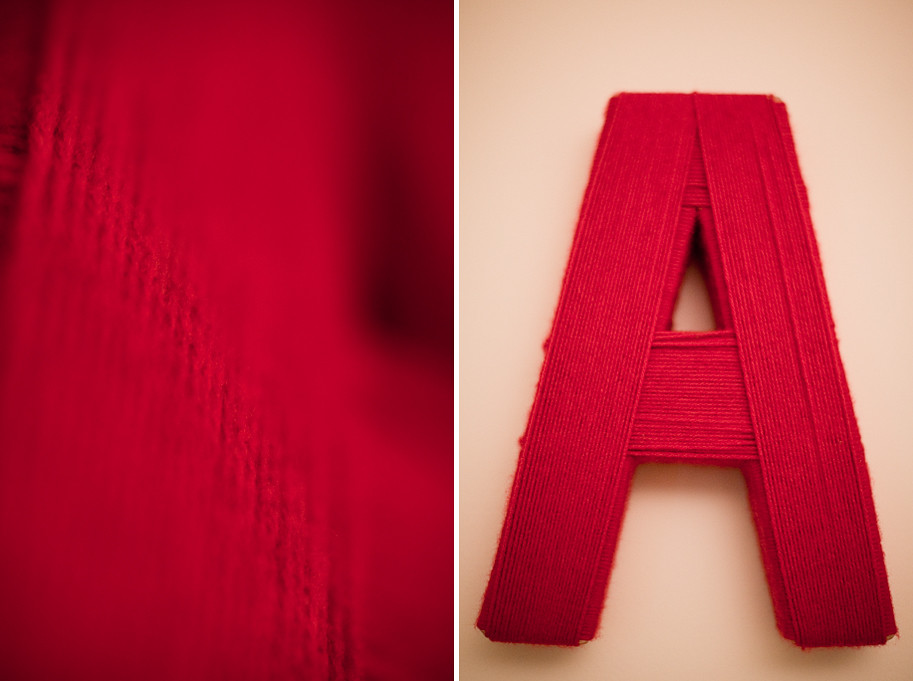 the A was probably the most time consuming one. i looked up a tutorial specifically for yarn wrapping an A so i didn't mess it up. it probably took about an hour and a half or so. i did it in bed on a friday night because i'm THAT cool.
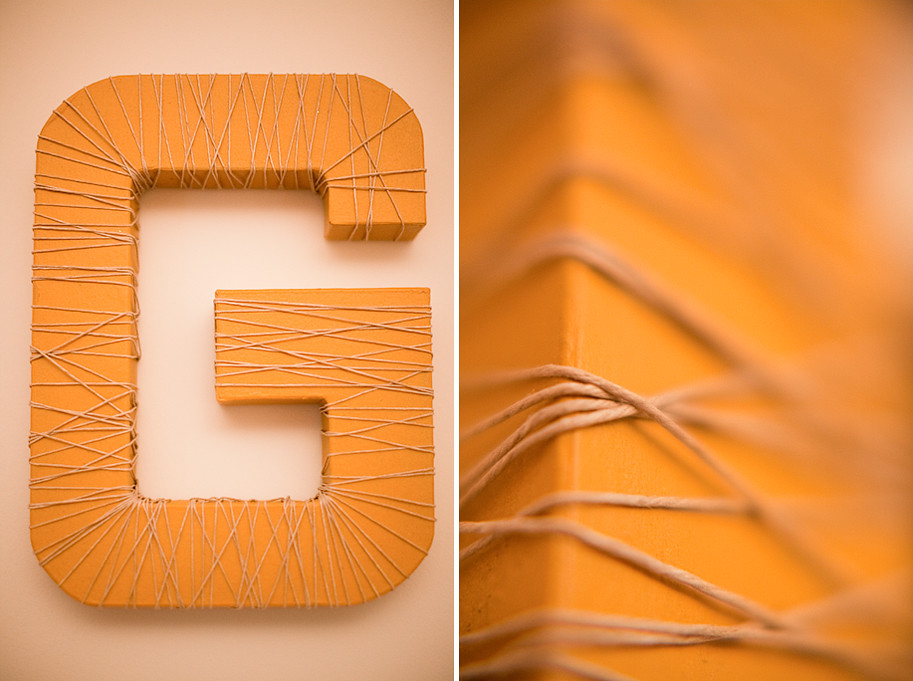 the G was another quick and easy one, and i ended up loving the way it turned out. i painted it with a mustard yellow color and then just randomly wrapped the entire thing with twine. it took probably 20 minutes all together and may be my favorite.
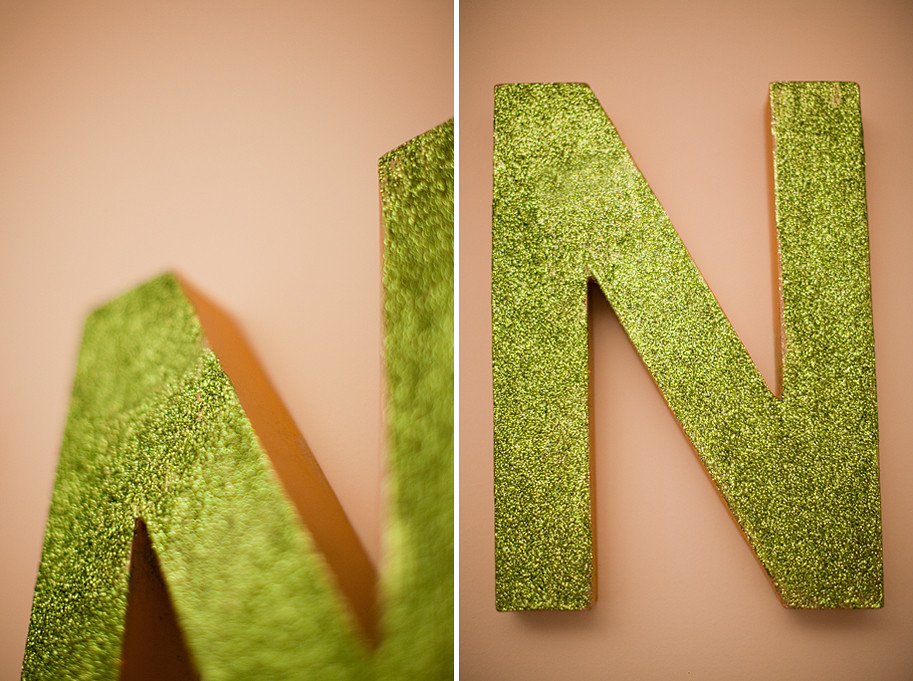 the N is actually not done completely. i ran out of glitter before i could do the sides but i just used mod podge to cover the entire front and then sprinkled the glitter all over it. super easy. also super messy if you're like me and end up accidentally dumping mod podge all over your deck and ruining one of your favorite sweaters in the process. patience. patience. patience. i'll finish that one some time this week.
so, that's it! it was a fun little project and i love the way it turned out. when the playroom doesn't look like a tornado hit it (and we're done with the last couple things we're putting up) i'll post a photo of the whole thing. we've been spending a TON of time in there and zoe's imagination is so incredible right now -- it fits really well. but, i don't think we should ever stop imagining, so it's the perfect affirmation for all of us!

ummmmm i'm copying this at some point. so creative and cute, friend!
ReplyDeleteI love the yarn on the A and the glitter on the N. So cute!
ReplyDelete